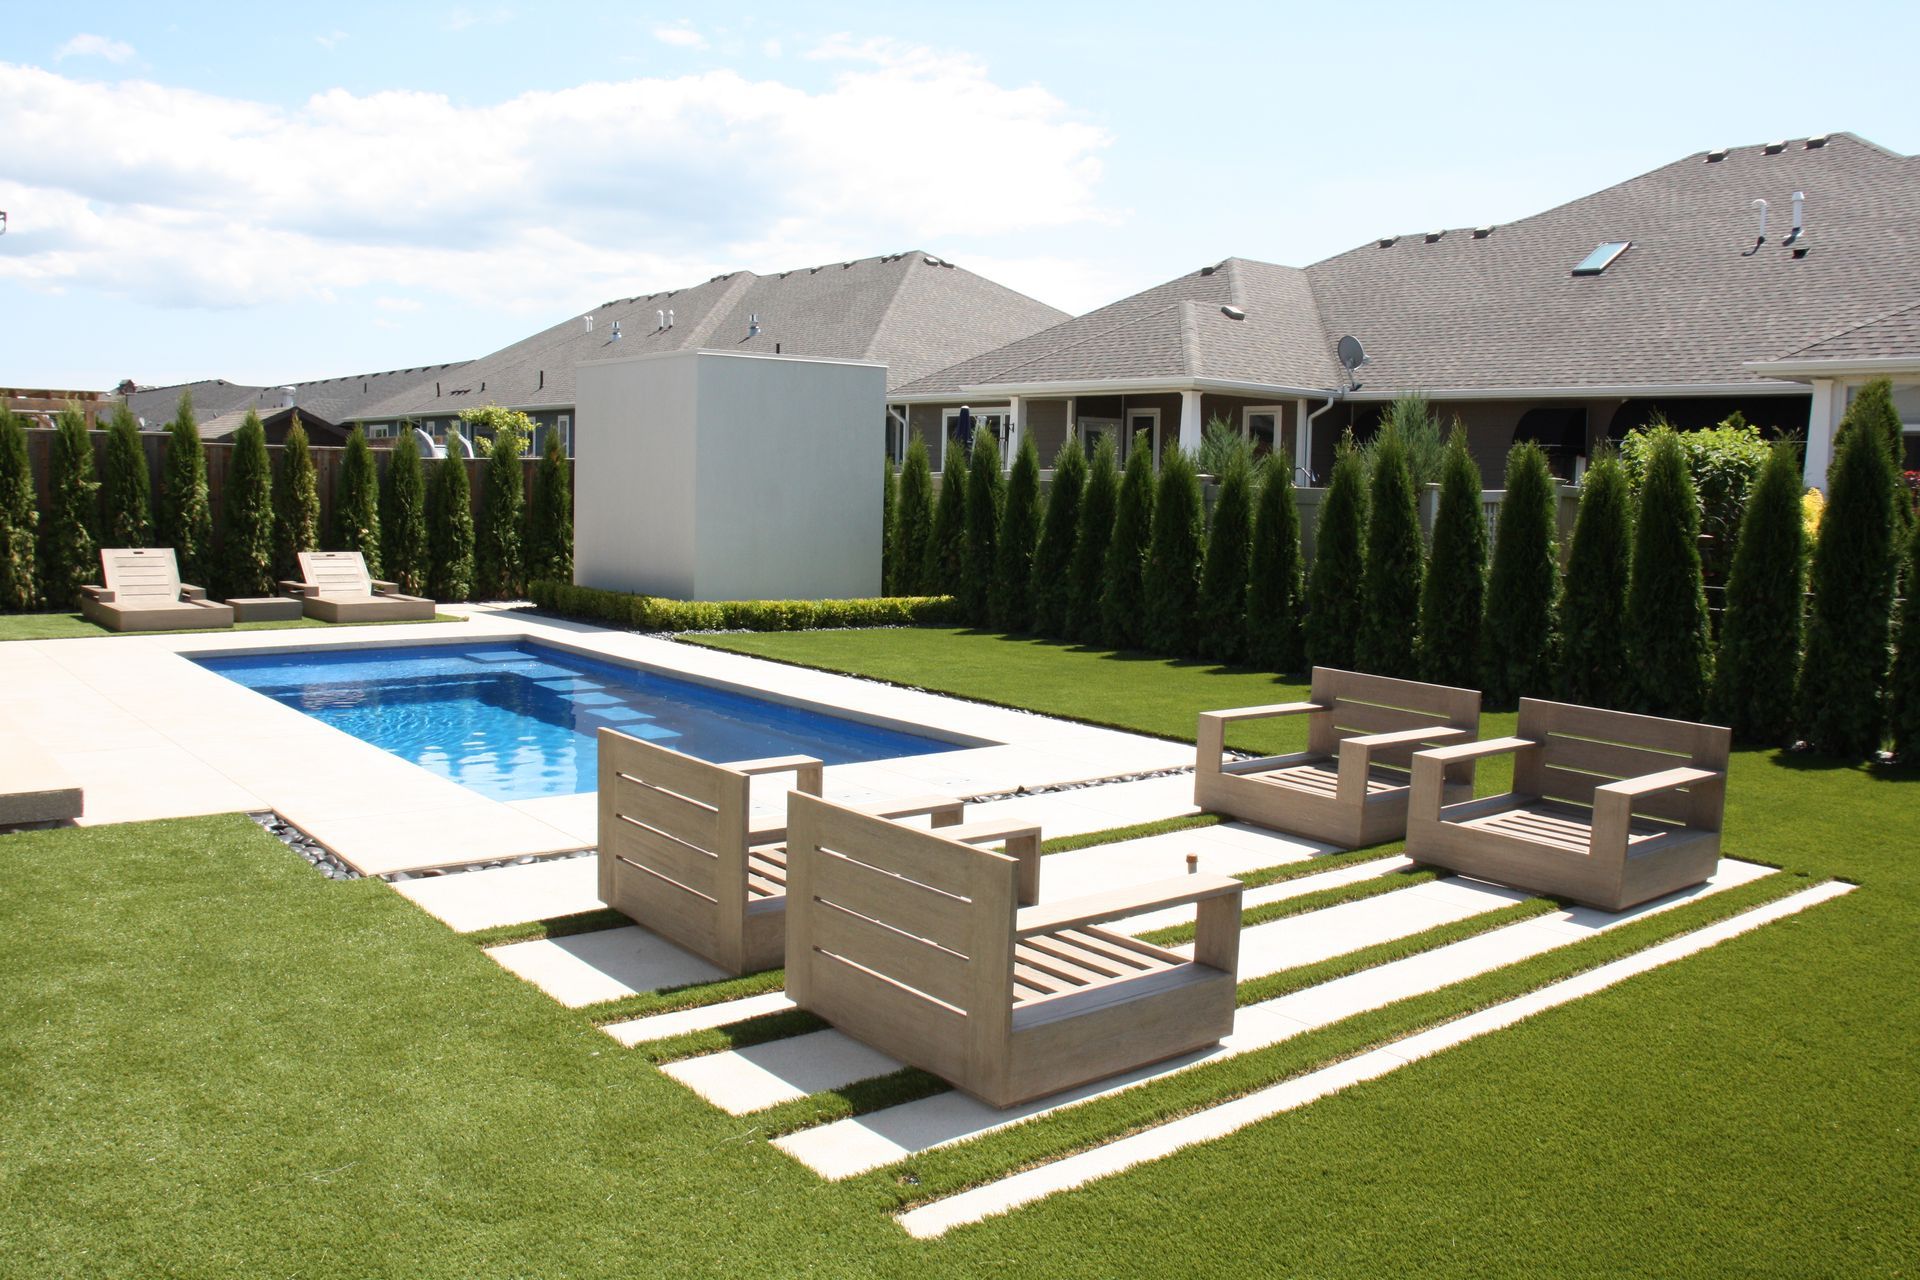
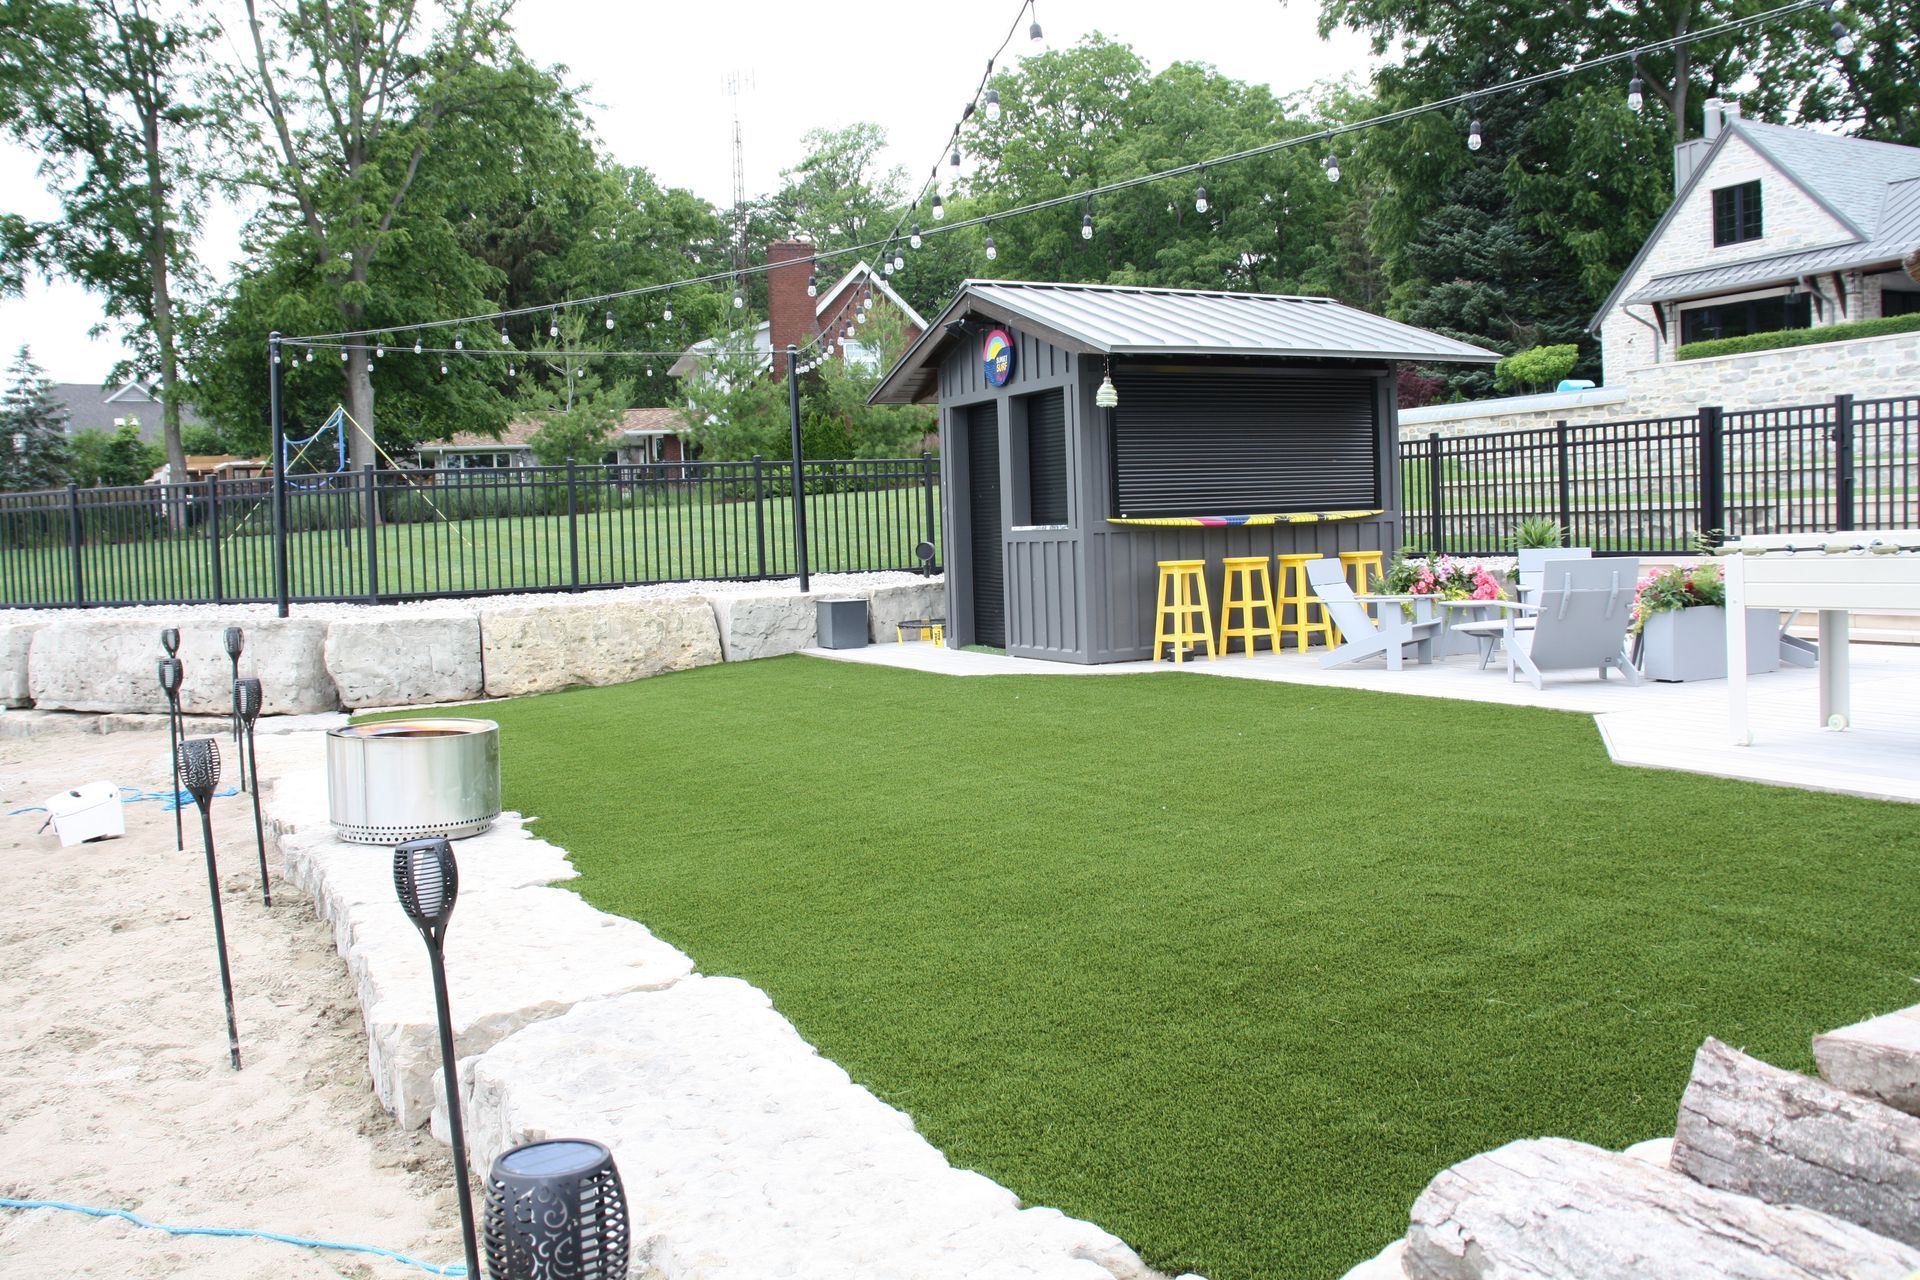
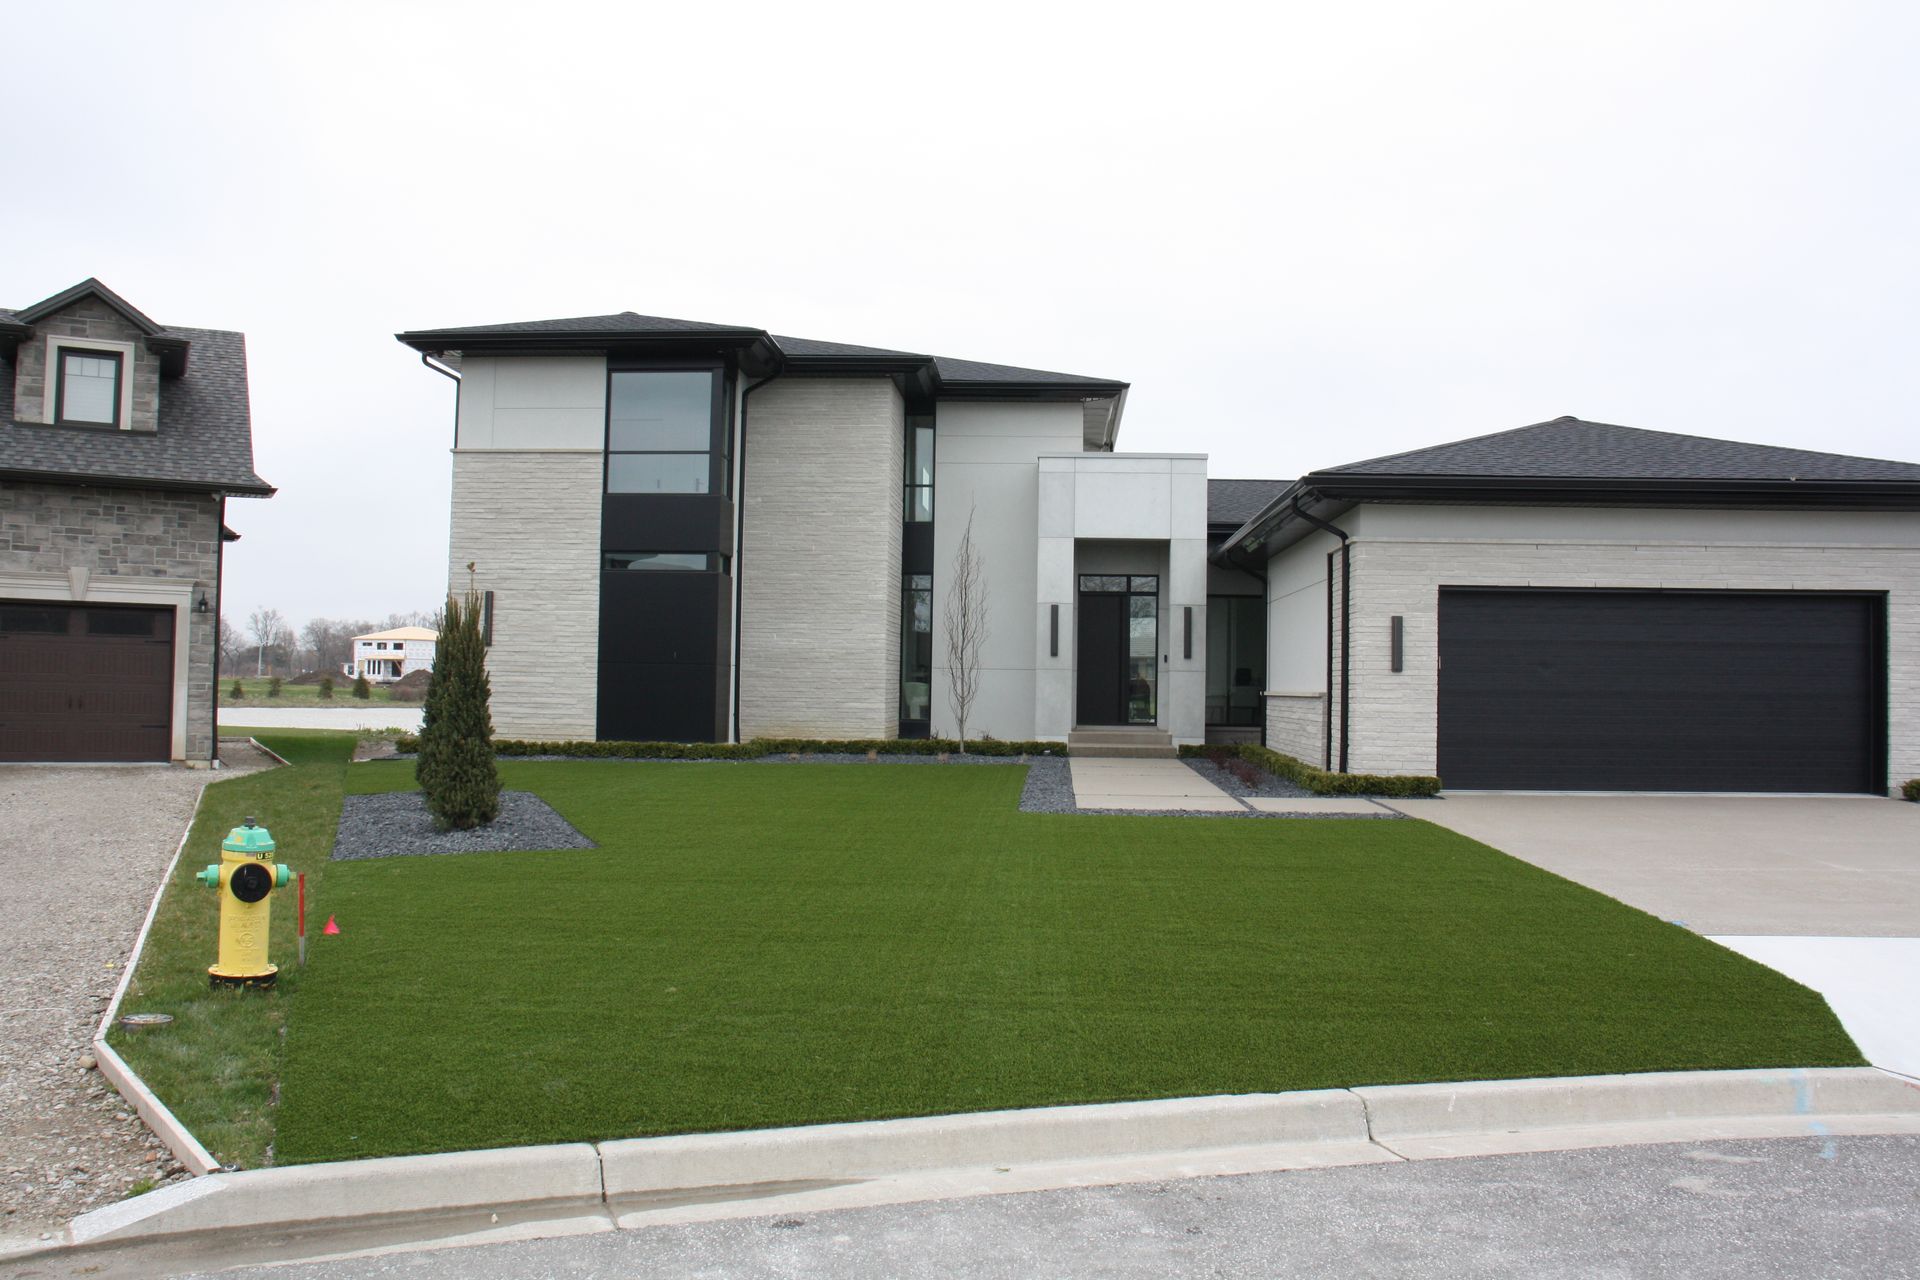
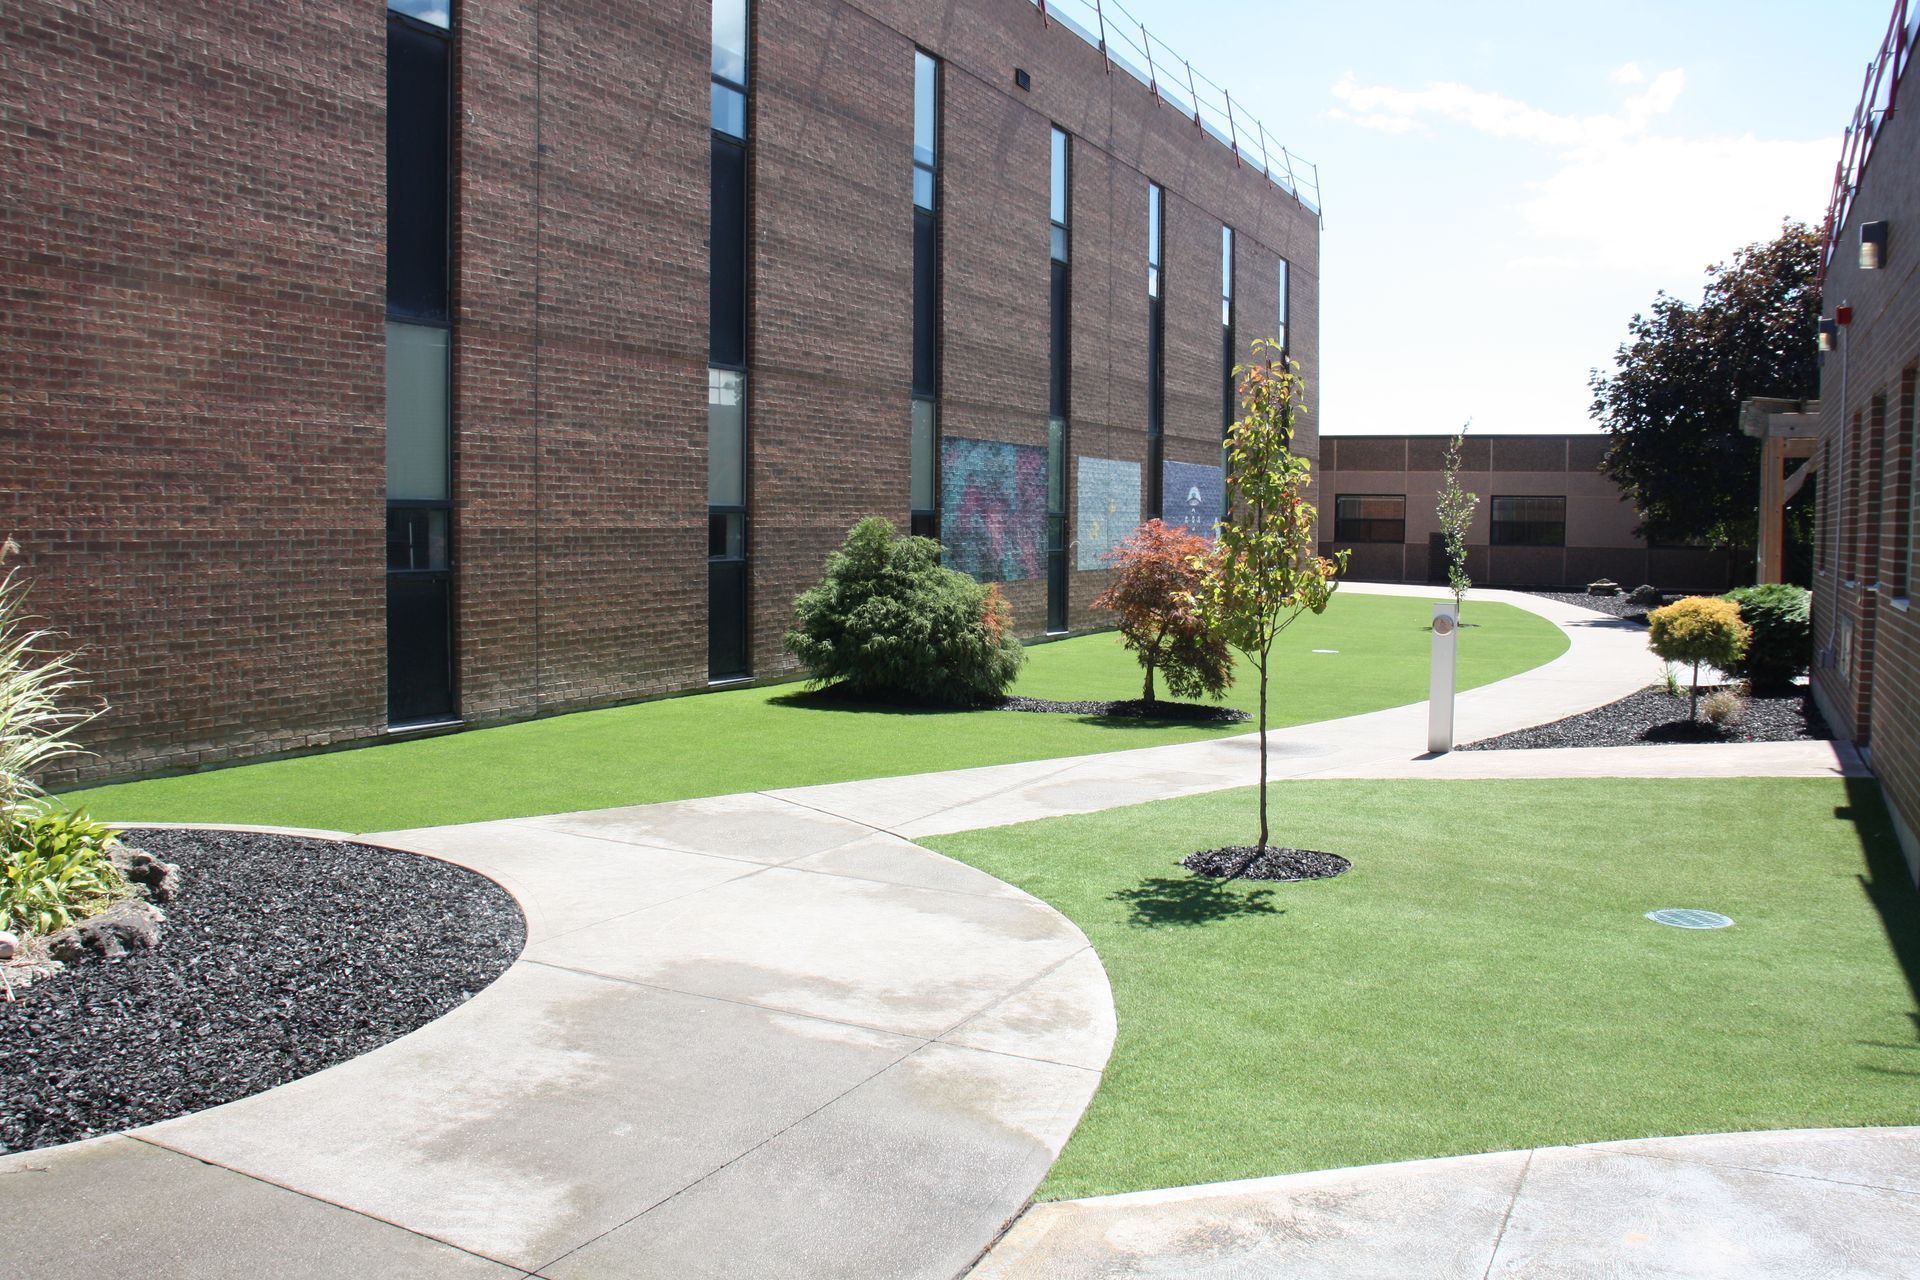
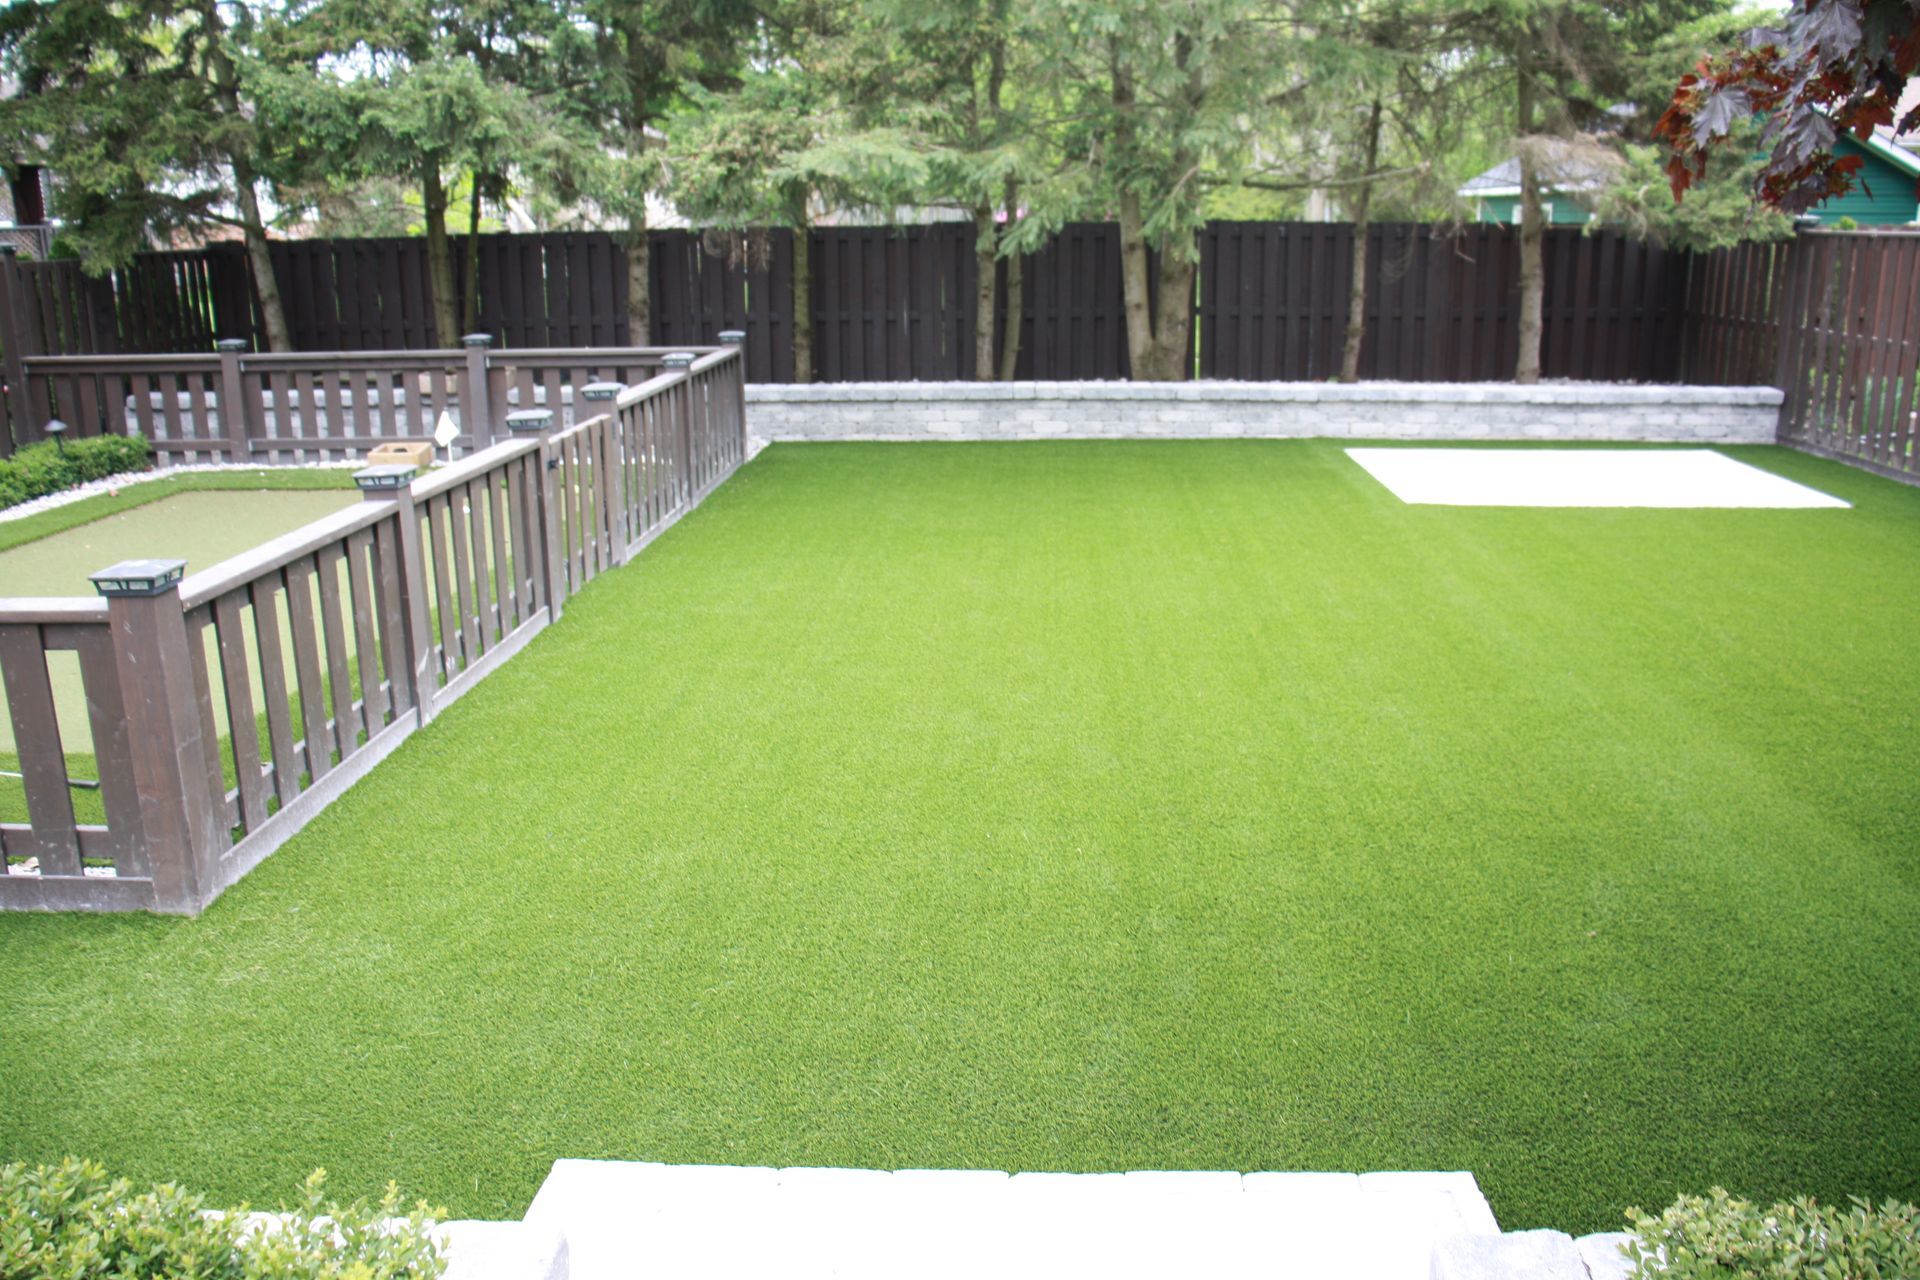
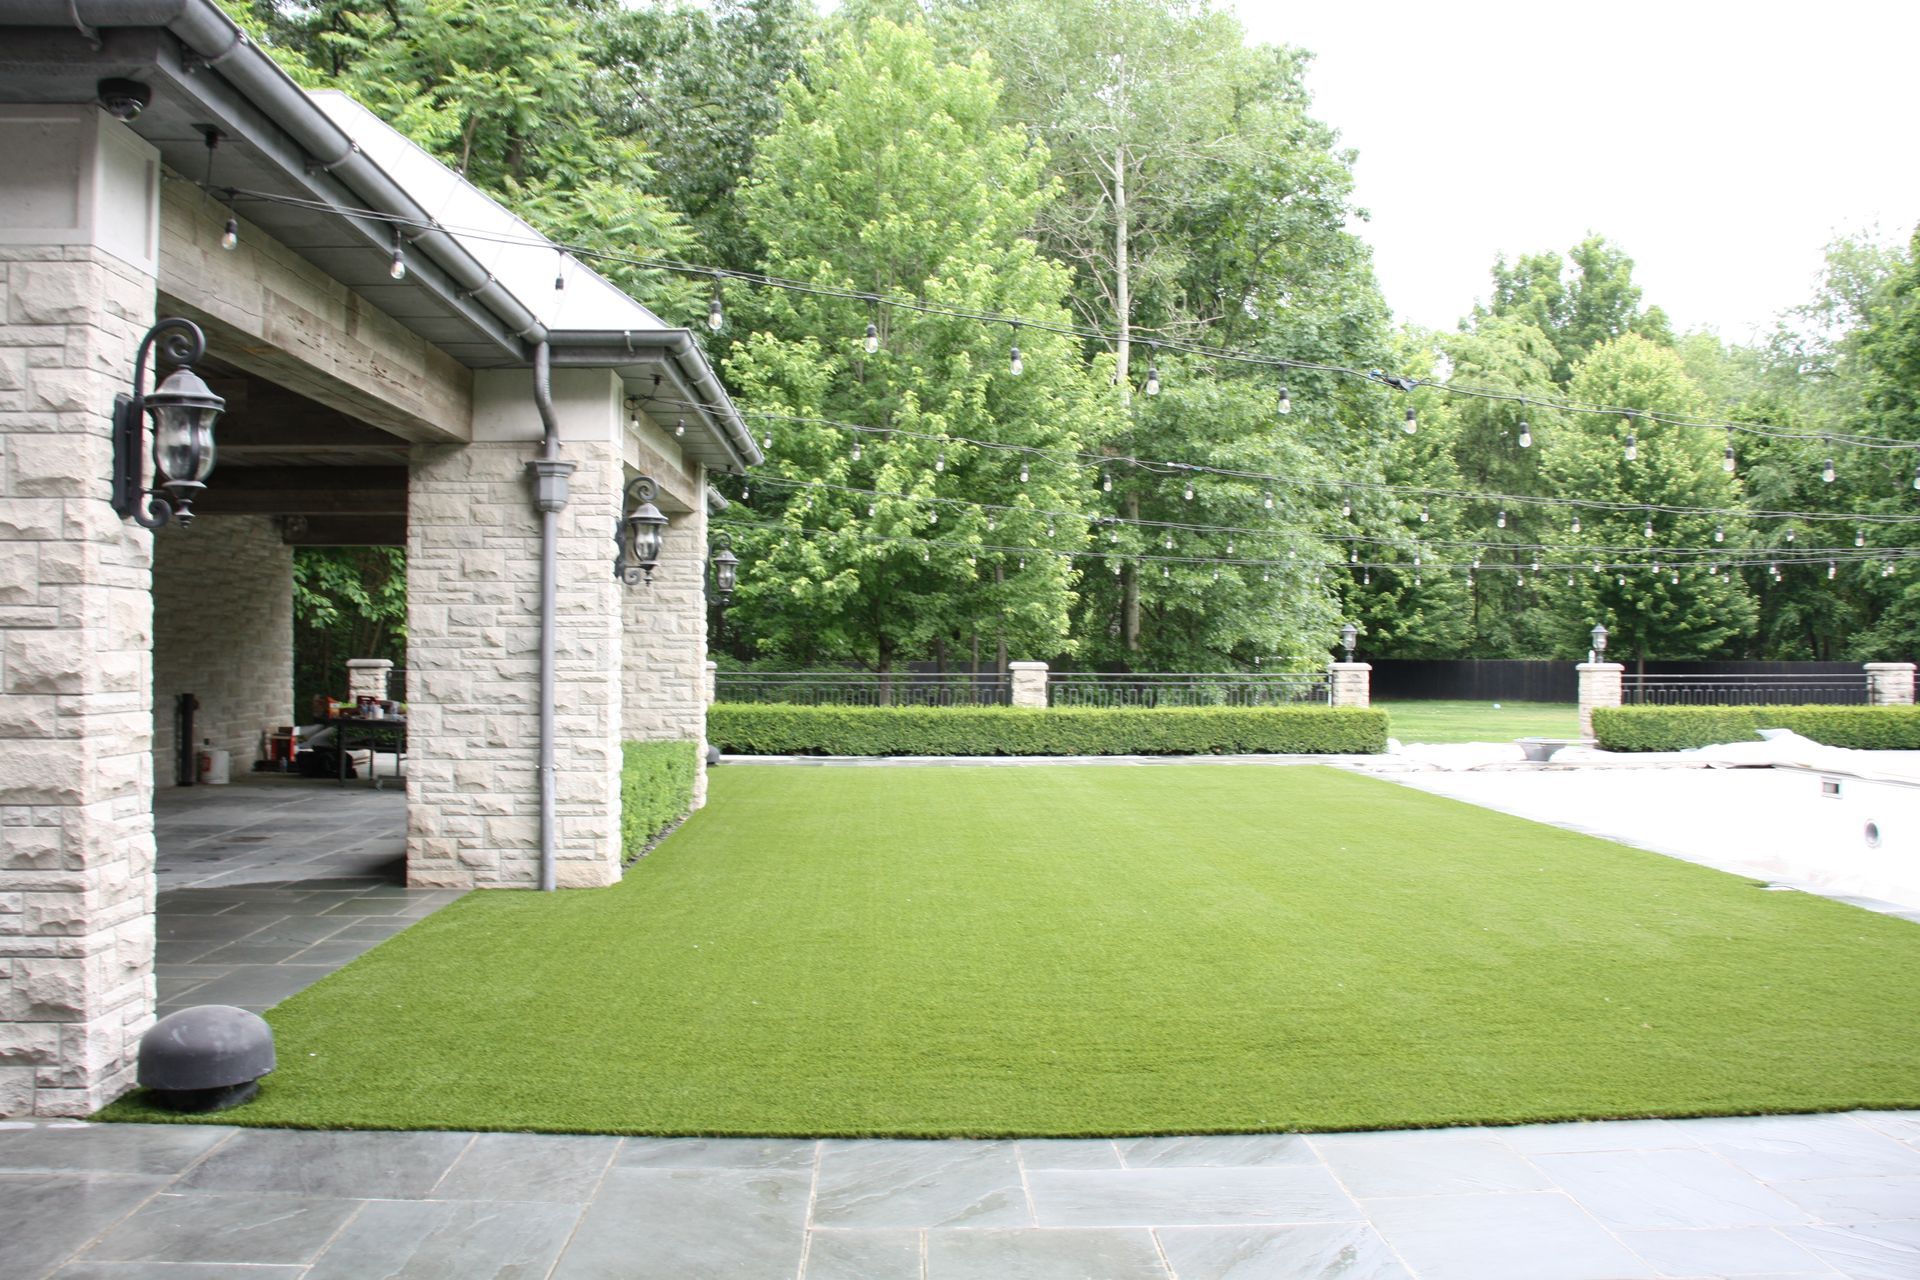
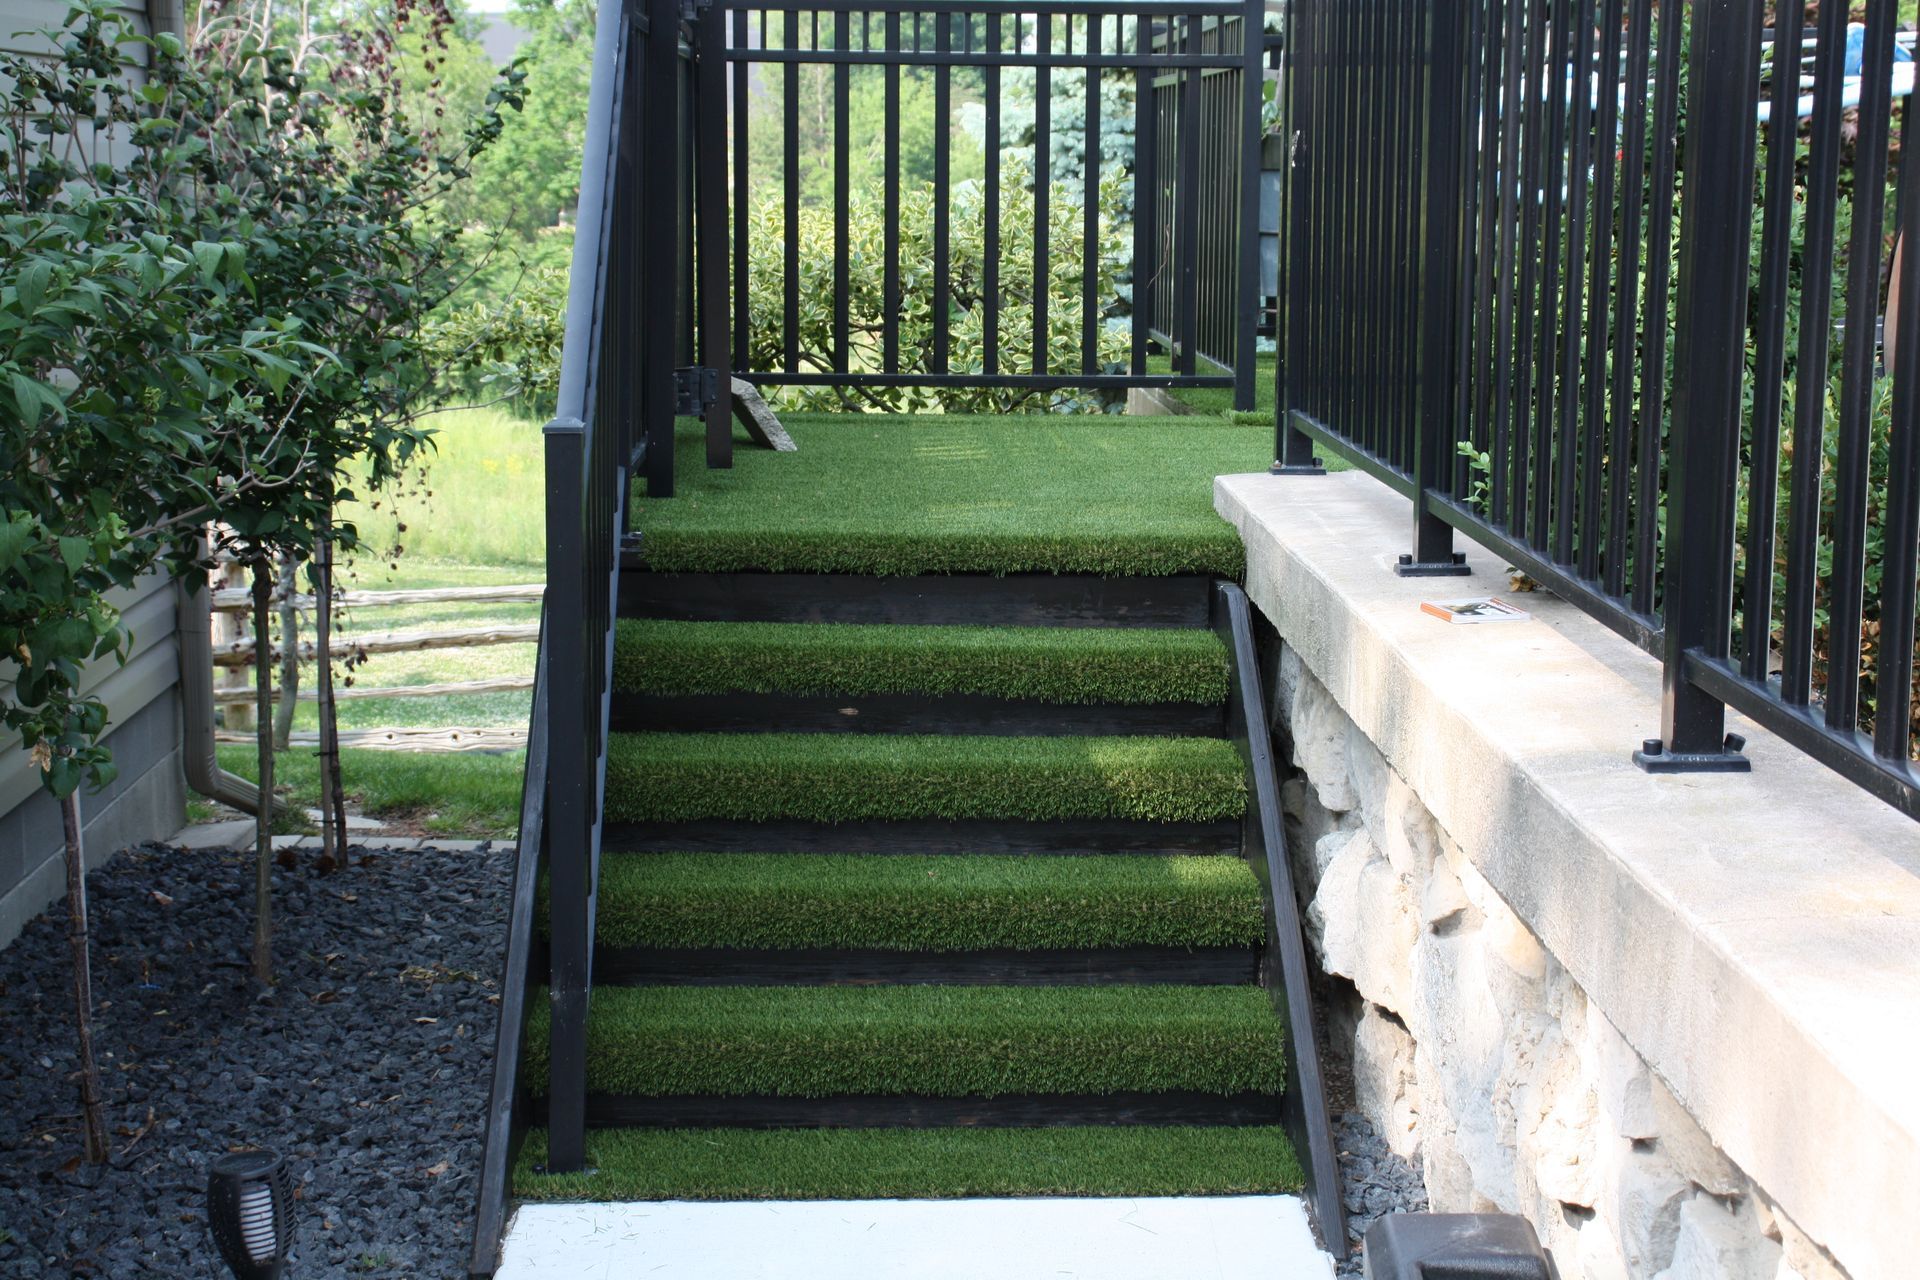
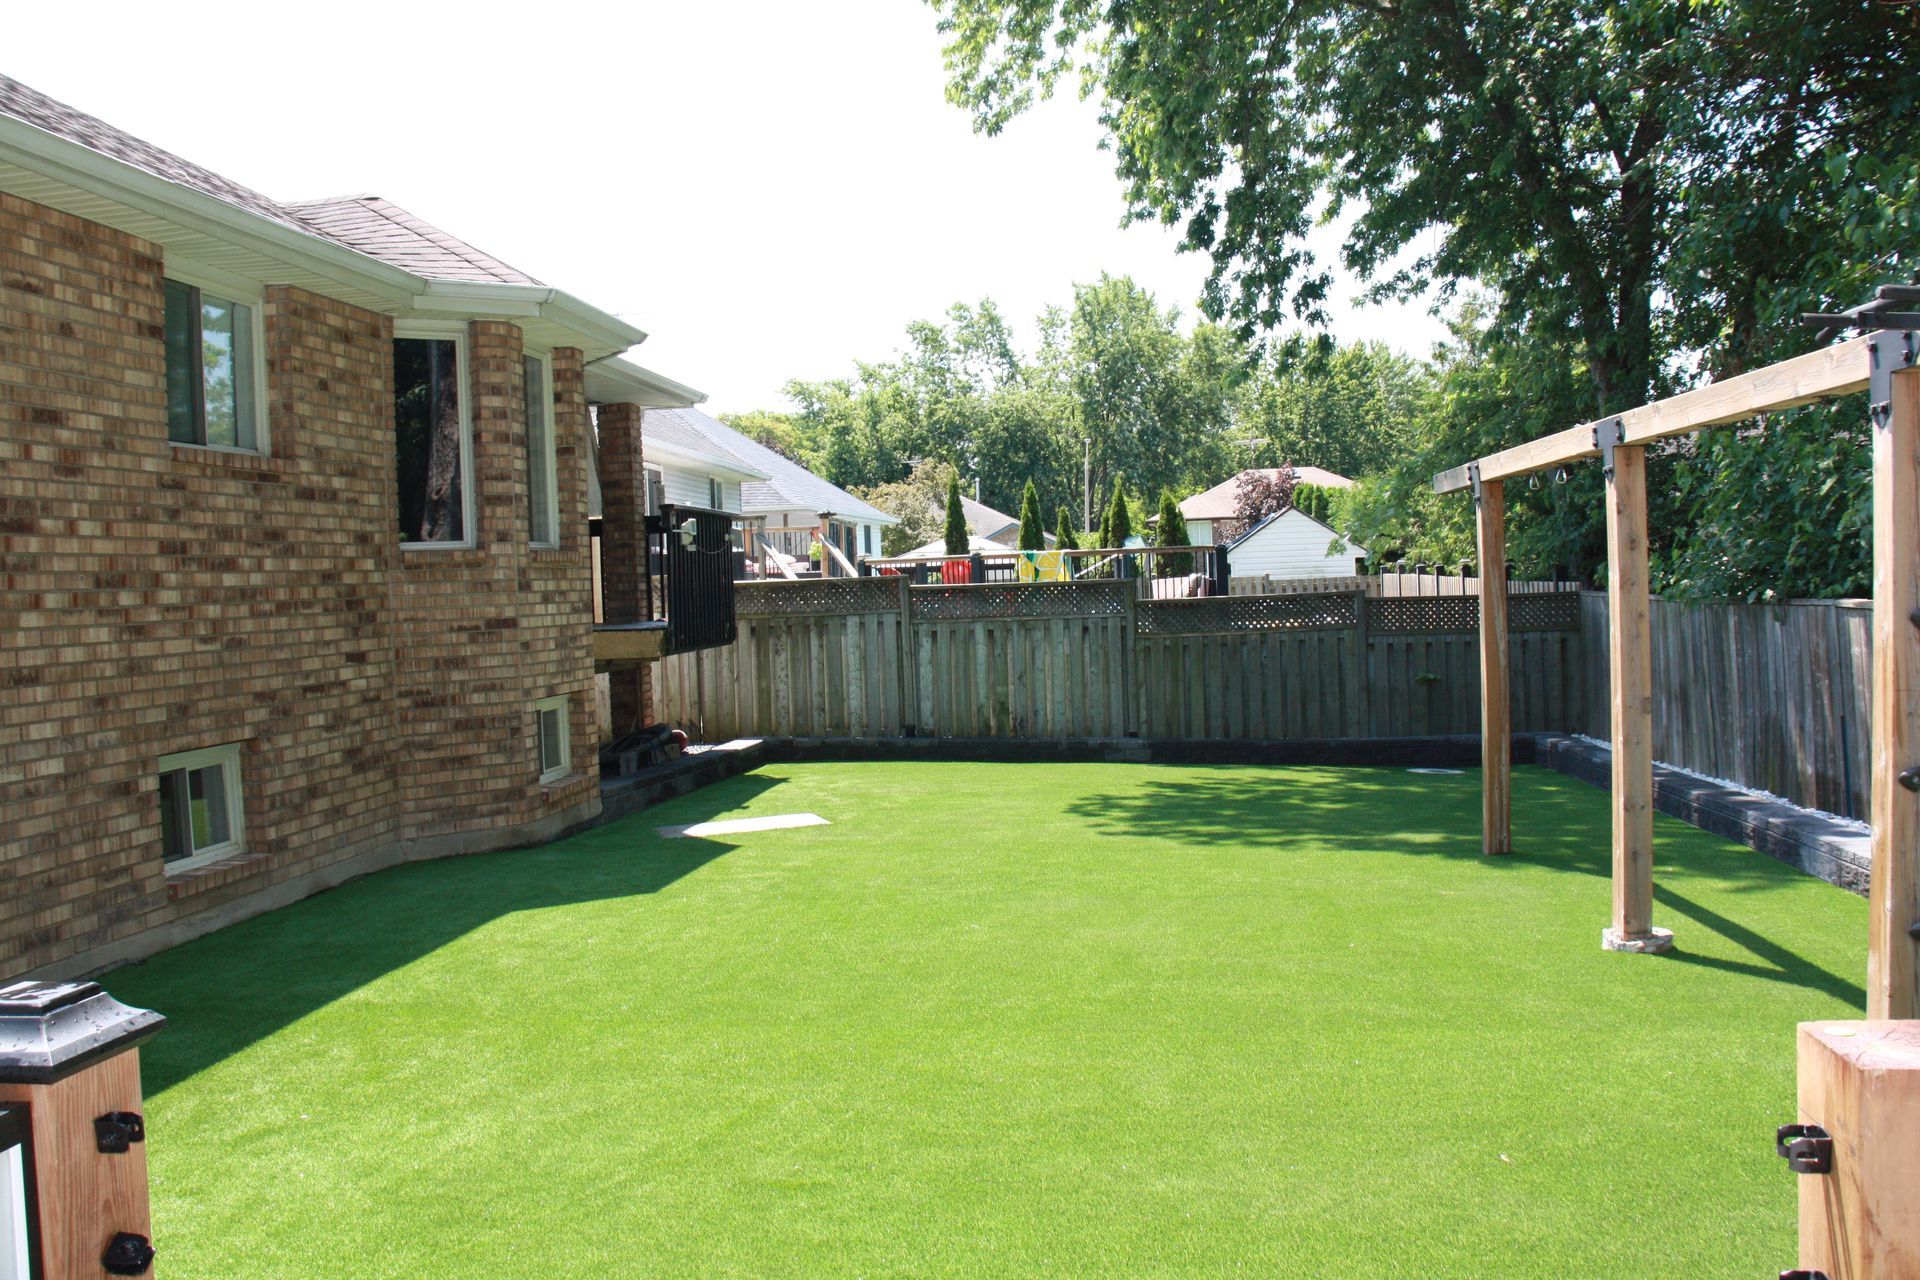
The Benefits of Switching to Artificial Grass
List of Services
FAQ on Artificial Grass
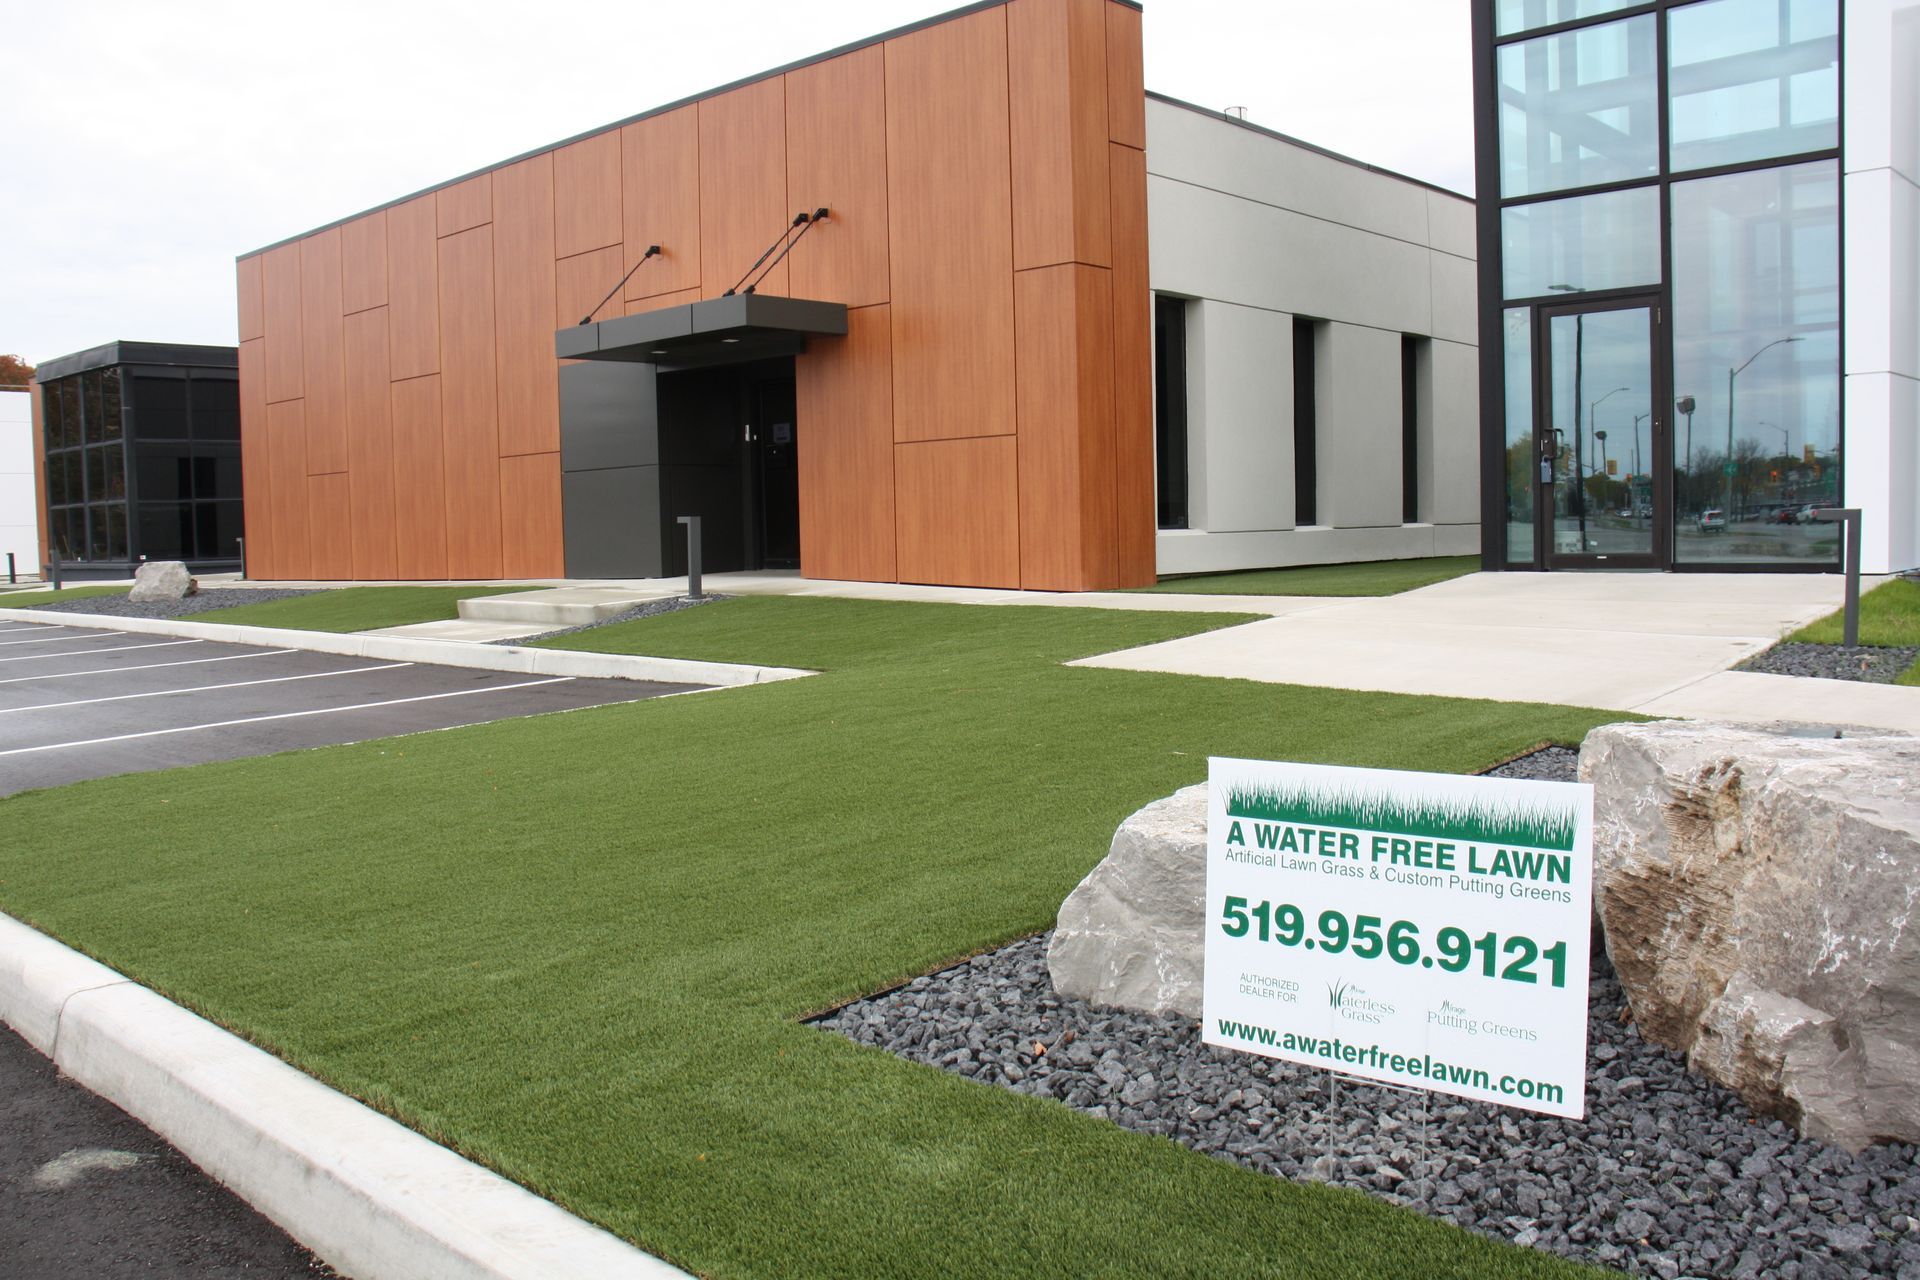
Since 2009
How an Artificial Grass Yard is constructed.
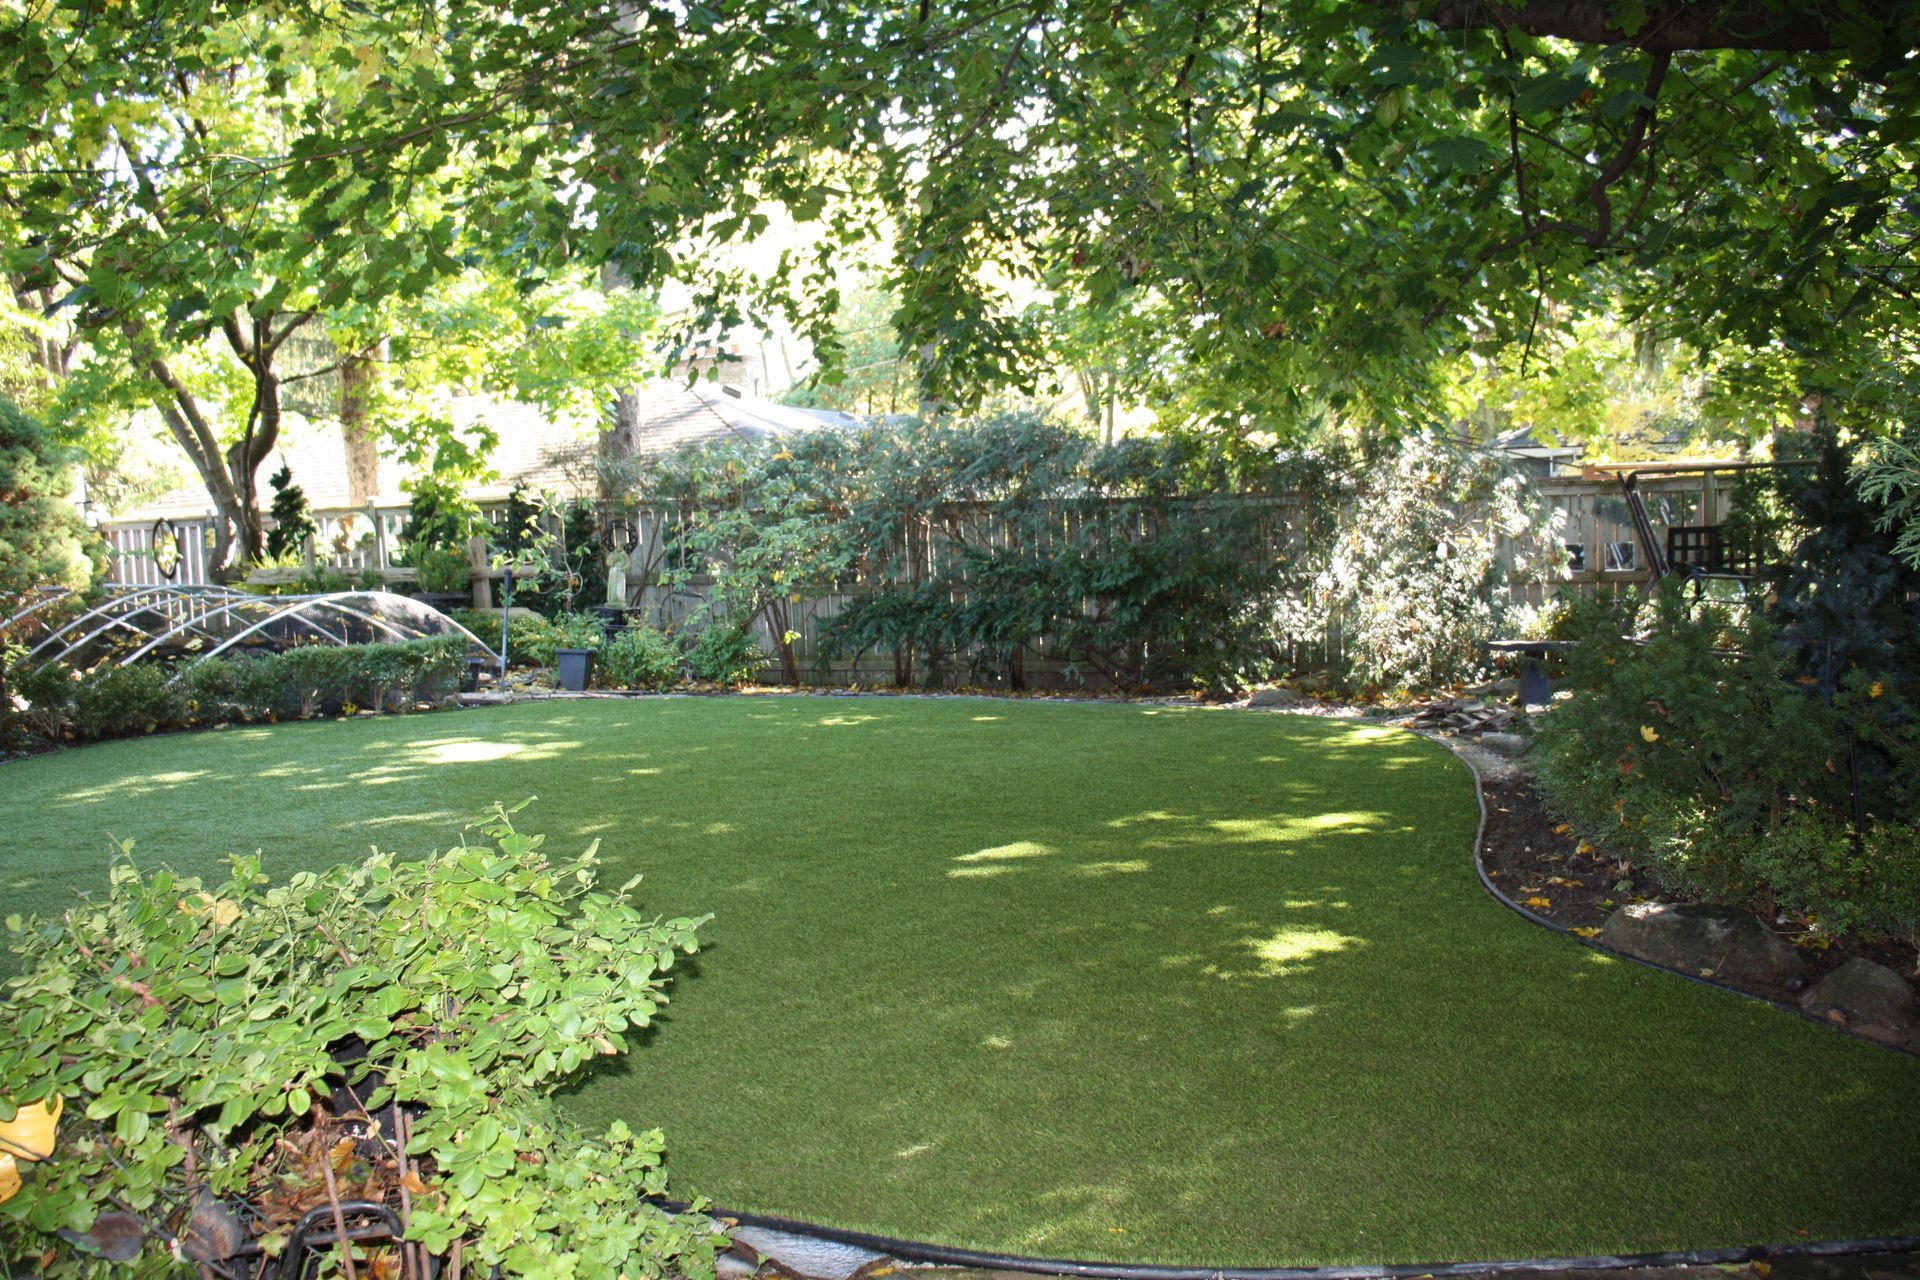
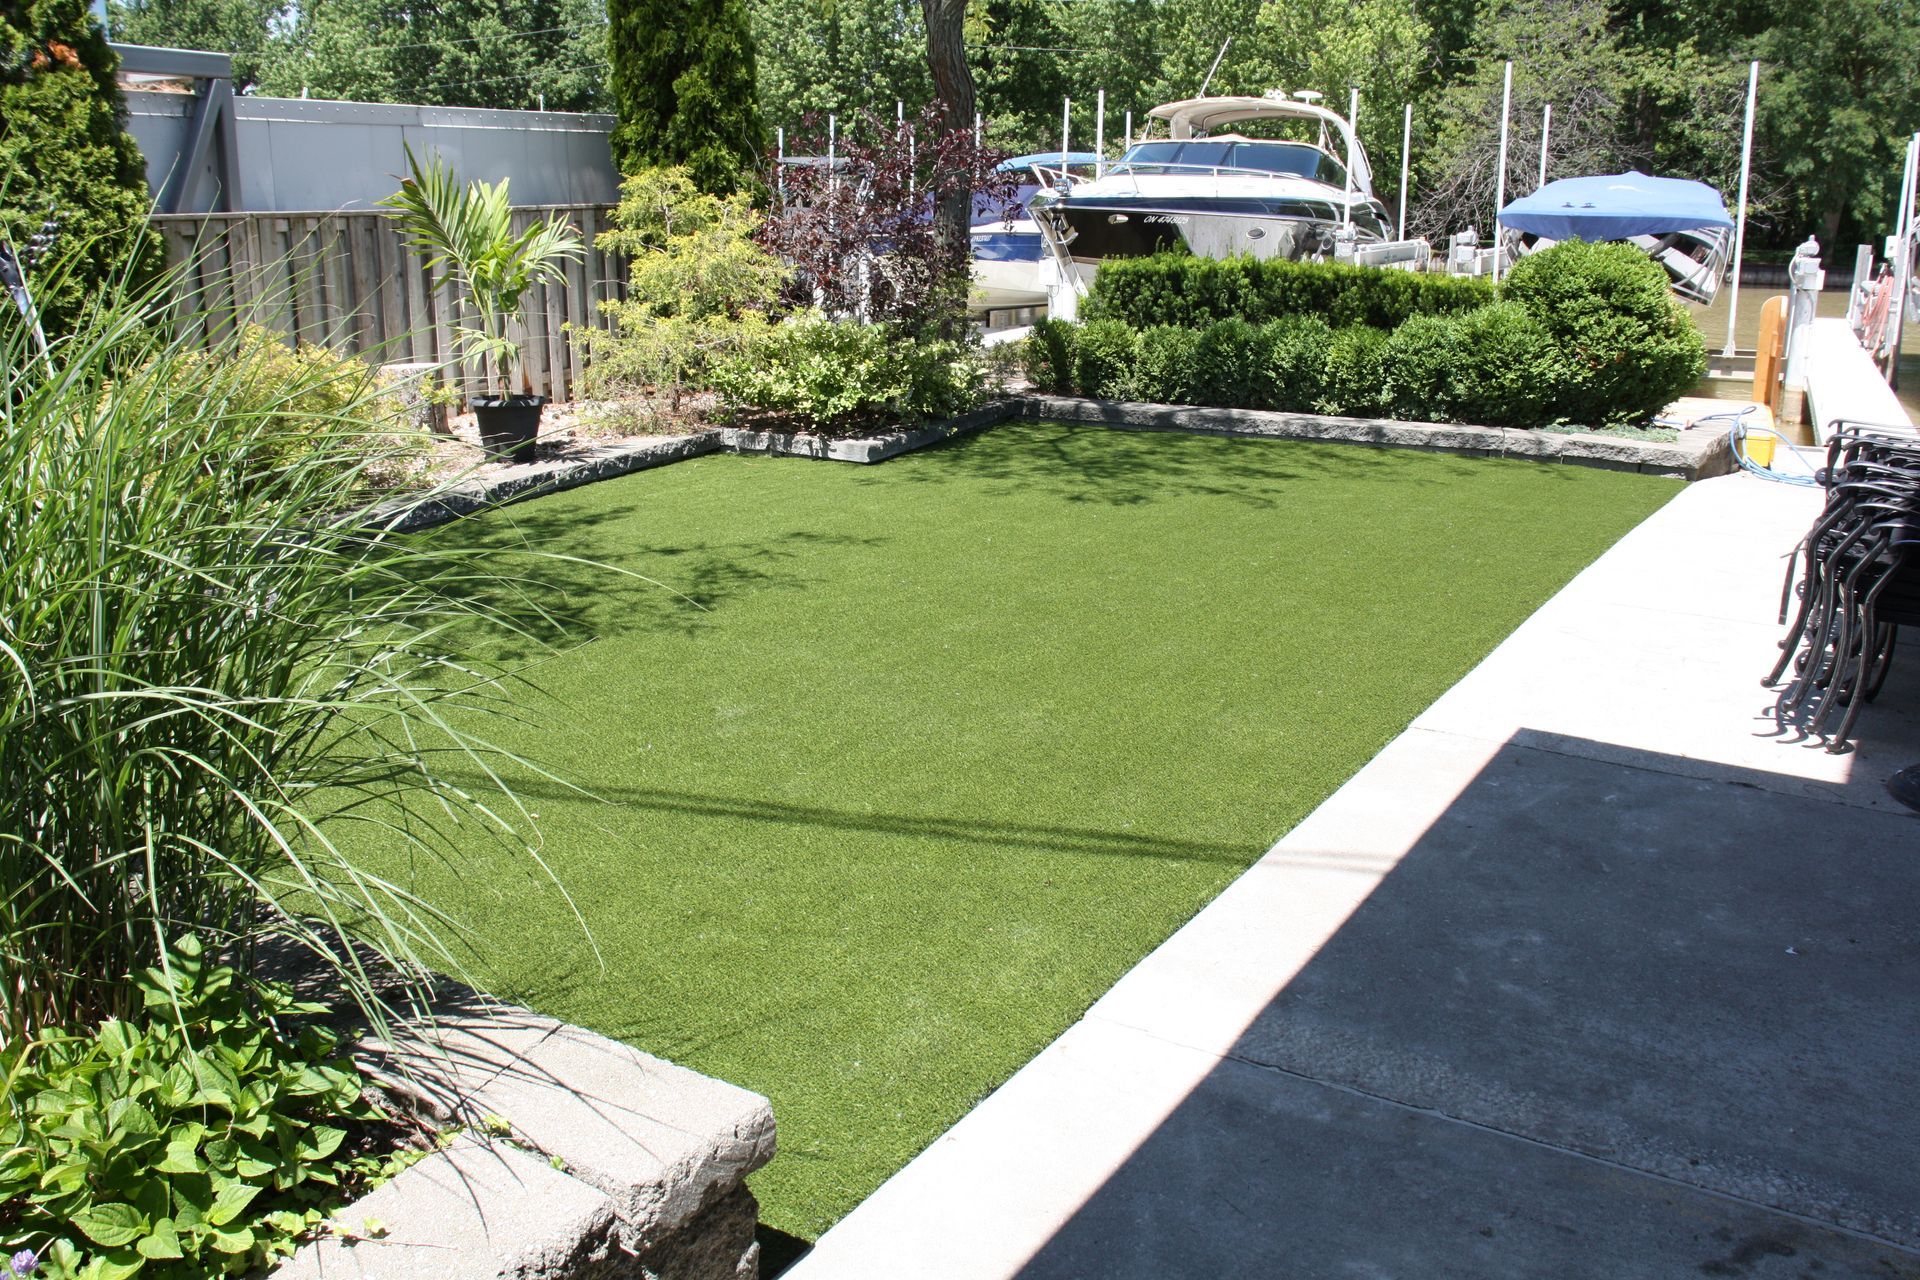
Nature's Symphony
Breathtaking colors of our planet

View more
FAQ on Artificial Grass
Website Design by Windsor Align Marketing
A WATER FREE LAWN is committed to providing high quality installations and up to date Turf products. We provide all information and options to help customer decide if Artificial Grass or Synthetic Putting Green is the right choice for them. Our goal is having a completely satisfied customer who is happy they trusted us to bring their vision to life.